> ## Documentation Index
> Fetch the complete documentation index at: https://docs.coderabbit.ai/llms.txt
> Use this file to discover all available pages before exploring further.
# Planning on GitHub
> Generate comprehensive Coding Plans from your issues on the GitHub issue tracker.
export const ProPlusPlanBadge = ({tip = "This feature is available as part of the Pro+ plan and Enterprise plan. Please refer to our pricing page for more information about our plans and features.", title = "Pro+ Plan", cta = "Read more", href = "https://coderabbit.ai/pricing", disabled = false}) => {
return
{title}
;
};
export const GitHubBadge = ({tip = "This feature is available on GitHub and GitHub Enterprise.", title = "GitHub", cta, href, disabled = false}) => {
return
{title}
;
};
|
## Initiating Planning
### Manual Planning
There are two ways to trigger Planning manually:
Comment `@coderabbitai plan` on any GitHub Issue to generate a plan.
When Issue Enrichment is enabled, CodeRabbit posts a comment on new issues
with a **Create Plan** checkbox. Check the box to generate a plan.
### Auto-Planning (Recommended)
Automatically generate plans when specific labels are added to issues.
```yaml theme={null}
issue_enrichment:
planning:
enabled: true
auto_planning:
enabled: true
labels:
- "plan-me" # Auto-plan issues with this label
- "feature" # Also auto-plan these
- "!no-plan" # Never auto-plan issues with this label
```
To configure auto-planning labels in the CodeRabbit web app:
1. Navigate to **Configuration → Issue Enrichment → Auto-Planning**
2. Enable **Automatic Planning**
3. Add your desired labels in the labels field:
* Enter labels that should trigger auto-planning (e.g., `plan-me`, `feature`)
* Use the `!` prefix for exclusion labels (e.g., `!no-plan`)
4. Save your configuration
The web interface provides the same functionality as the YAML configuration, allowing you to manage auto-planning labels without committing configuration files to your repository.
#### Label Matching Rules
| Configuration | Behavior |
| -------------------------------- | ----------------------------------------------------------------------------- |
| Inclusion only (e.g., `feature`) | Plans only issues with at least one matching label |
| Exclusion only (e.g., `!wip`) | Plans all issues except those with excluded labels |
| Mixed (e.g., `feature`, `!wip`) | Plans issues that have an inclusion label AND don't have any exclusion labels |
Exclusion labels (starting with `!`) always take priority over inclusion
labels.
## Viewing and Refining Plans
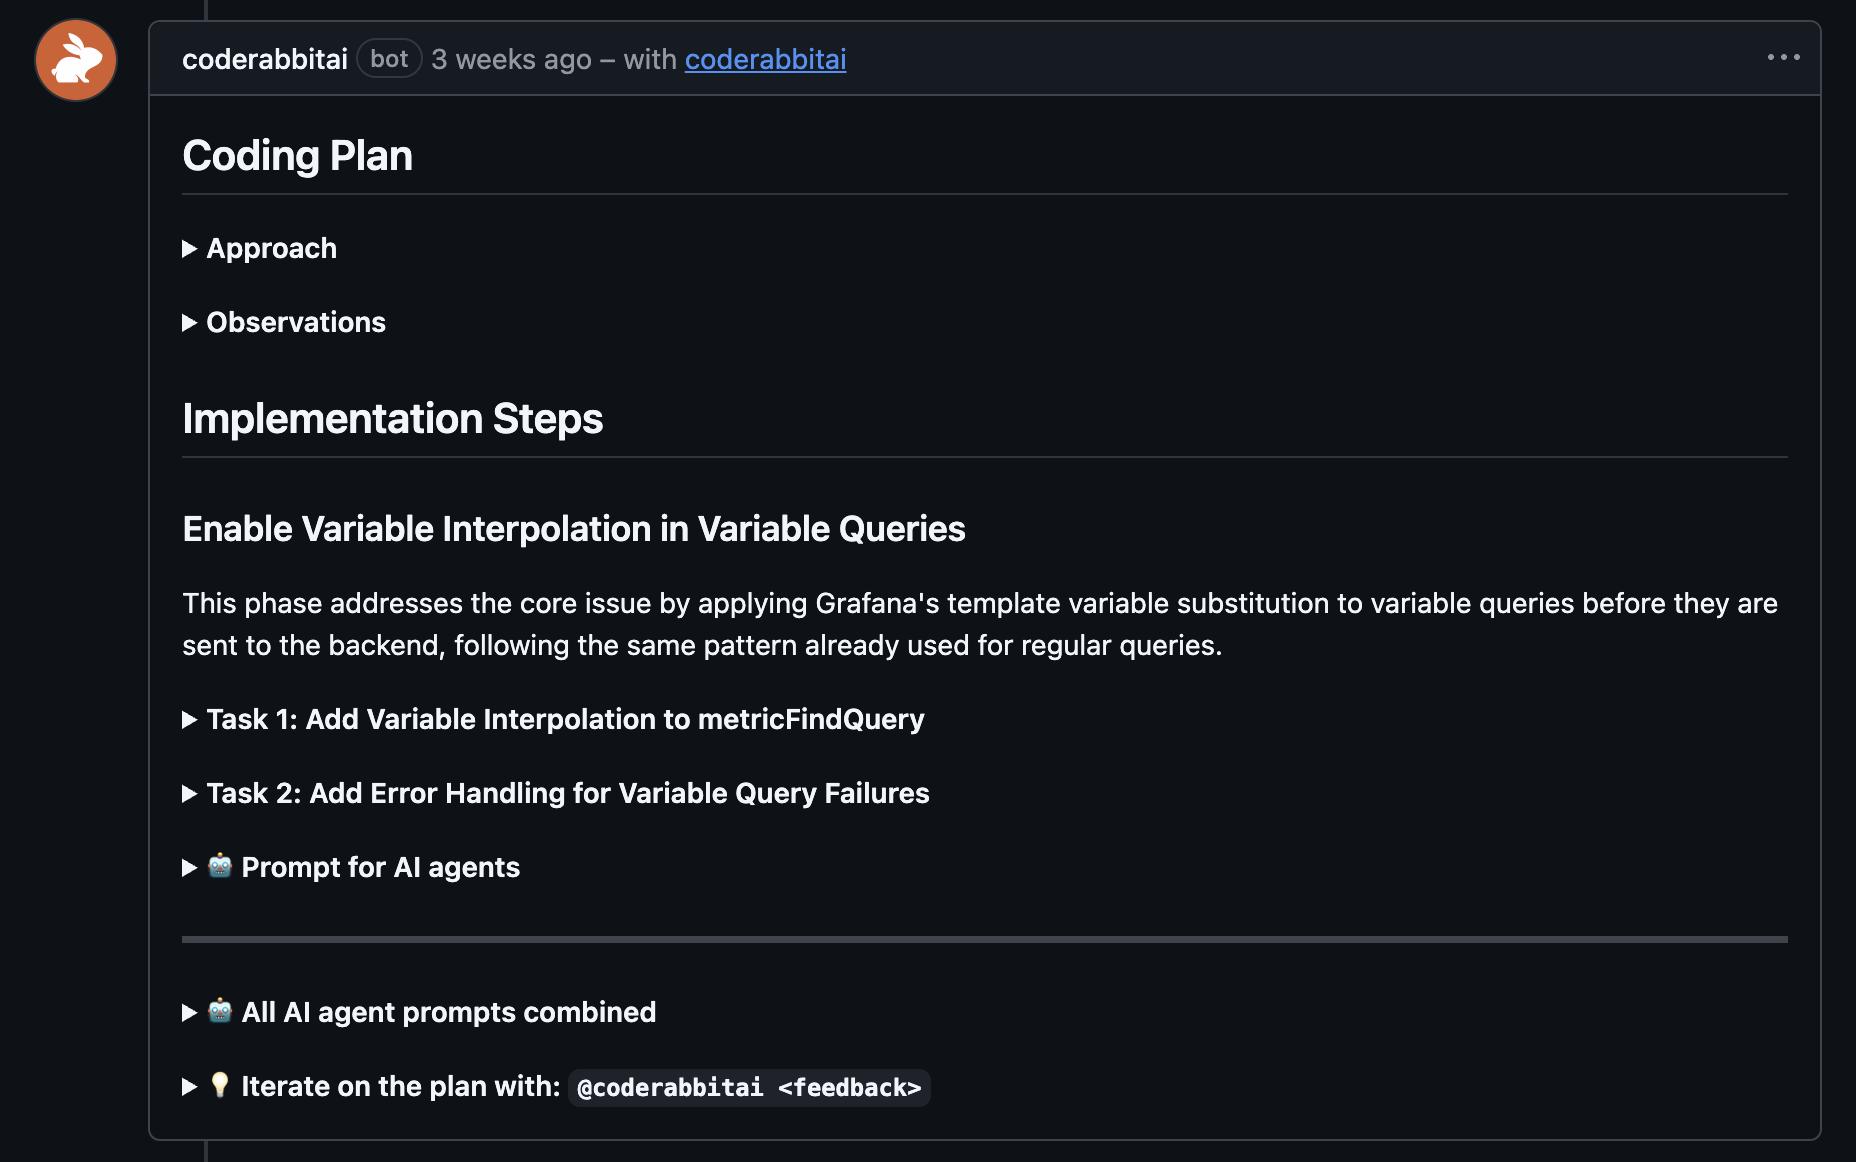
Once a Coding Plan is generated, CodeRabbit posts the full plan as a comment on the issue.
 ### Chatting about Your Plan
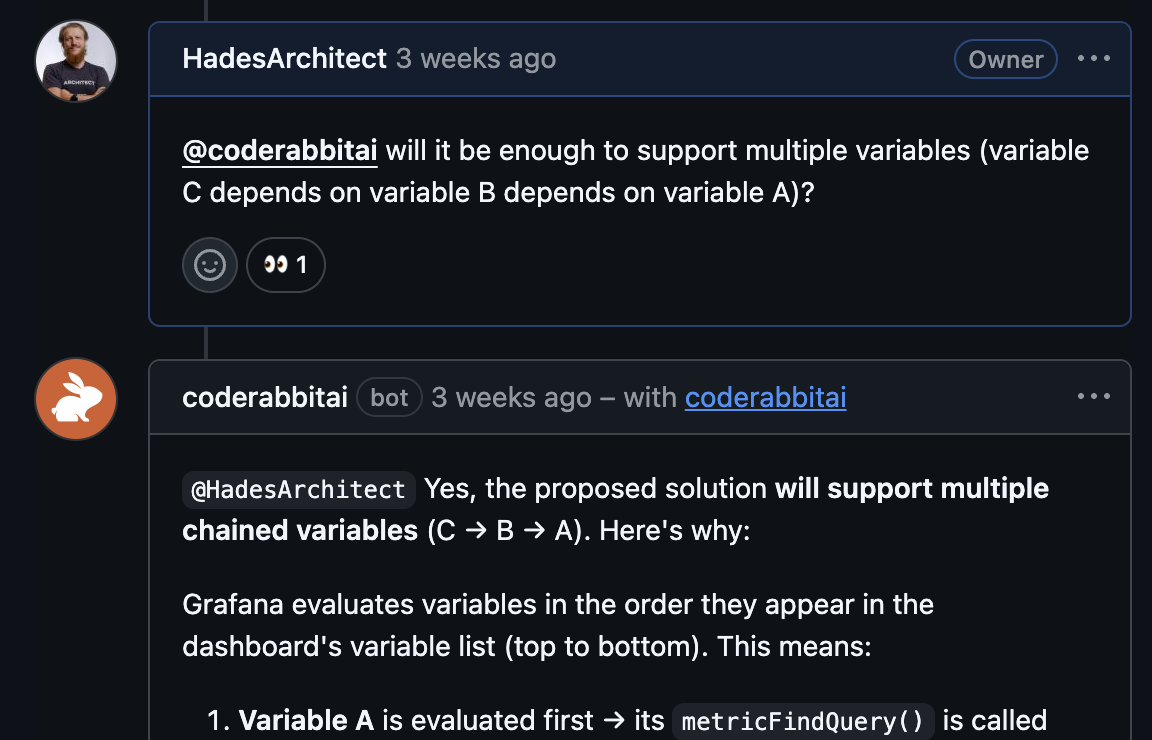
Reply to the Coding Plan comment on the issue to:
* Ask questions about the plan or the codebase
* Request changes to specific tasks or phases
* Challenge design choices and provide additional context
* Get clarification on implementation details
### Chatting about Your Plan
Reply to the Coding Plan comment on the issue to:
* Ask questions about the plan or the codebase
* Request changes to specific tasks or phases
* Challenge design choices and provide additional context
* Get clarification on implementation details
 ### Re-planning
Once asked to make changes, CodeRabbit will respond to your comment and update the plan accordingly. You can also comment `@coderabbitai plan` again on the issue to regenerate the plan from scratch.
### Handing Off to a Coding Agent
Copy the agentic prompts from the Coding Plan comment on the issue, and paste them into your preferred coding agent (Claude Code, Cursor, GitHub Copilot, etc.).
Alternatively, if your coding agent can access GitHub directly (for example, through the GitHub MCP), you can simply ask it to `fetch the issue by its number and execute CodeRabbit's plan`.
### Re-planning
Once asked to make changes, CodeRabbit will respond to your comment and update the plan accordingly. You can also comment `@coderabbitai plan` again on the issue to regenerate the plan from scratch.
### Handing Off to a Coding Agent
Copy the agentic prompts from the Coding Plan comment on the issue, and paste them into your preferred coding agent (Claude Code, Cursor, GitHub Copilot, etc.).
Alternatively, if your coding agent can access GitHub directly (for example, through the GitHub MCP), you can simply ask it to `fetch the issue by its number and execute CodeRabbit's plan`.