Overview
The Jira integration connects CodeRabbit to your Jira workspace, bringing issue context into every stage of development. Here’s what the integration enables:Context enrichment
Pulls in Jira issue details so CodeRabbit understands why a change is
being made
Requirement validation
Assesses whether code changes address the linked issue’s acceptance criteria
Issue planning
Generates step-by-step from Jira issues for coding agents and
IDE copilots
Issue creation
Creates new Jira issues directly from PR review comments
Prerequisites
Before setting up the Jira integration, ensure you have:- A Jira Cloud account (for Jira Data Center or self-hosted, see Jira Data Center below)
- Admin access to install apps on your Jira site
- A CodeRabbit Pro plan
Install the Jira Cloud integration
The Jira Cloud integration uses a Forge app from the Atlassian Marketplace. Follow these steps to connect your Jira site to CodeRabbit:Enable Jira integration in CodeRabbit
Navigate to
Integrations in
the CodeRabbit app and toggle Jira to enable the integration.
Copy the installation secret
A modal appears with setup instructions and an Installation Secret
(valid for 15 minutes). Copy the secret, then click Open Atlassian
Installation.
Install from Atlassian Marketplace
On the Atlassian Marketplace page for the CodeRabbit app, click Get app.
Complete the setup
Under Apps, select CodeRabbit. On the CodeRabbit Setup page, paste
the Installation Secret you copied earlier and click Complete Setup.
The Installation Secret expires after 15 minutes. If it expires before you
complete the setup, start the process again from step 1.
Jira Data Center (Self-Hosted)
For self-hosted Jira Data Center installations, a different setup process applies.Configure CodeRabbit for Jira
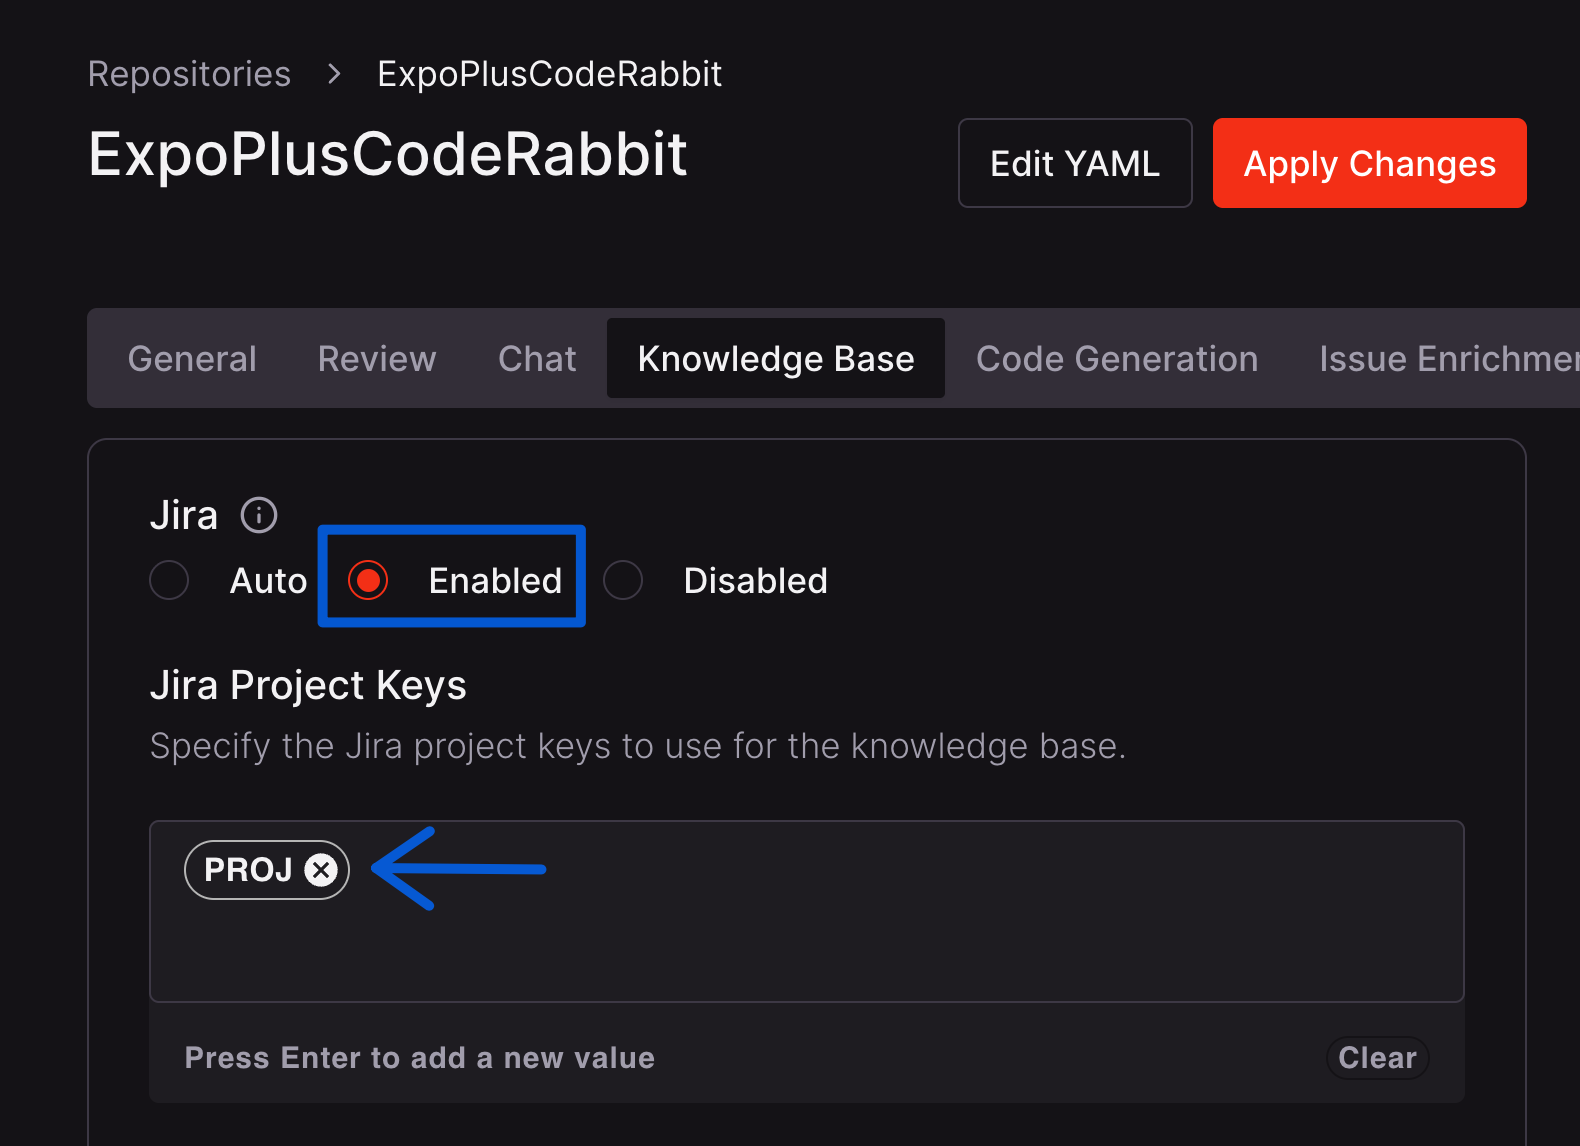
After connecting Jira, configure which Jira projects CodeRabbit should access by adding your project keys. The project key is the prefix that appears before issue numbers—for example, if your issue URL ishttps://company.atlassian.net/browse/PROJ-123, the project key is PROJ.
- YAML Configuration
- Web Interface
Add the The
project_keys setting under knowledge_base.jira in your .coderabbit.yaml file:.coderabbit.yaml
usage setting controls when the integration is active:auto(default): Disabled for public repositories, enabled for private repositoriesenabled: Always enableddisabled: Always disabled
By default, Jira integration is enabled for private repositories and disabled
for public repositories. You can override this behavior by setting
knowledge_base.jira.usage: enabled and chat.integrations.jira.usage: enabled in your .coderabbit.yaml file or using the web interface. See the
Configuration reference for details.Example usage
Linking Jira issues to pull requests
To have CodeRabbit validate requirements from a Jira issue, include the issue URL in your pull request description:Creating Jira issues from reviews
During a code review, you can ask CodeRabbit to create a Jira issue by mentioning@coderabbitai in a comment:
Related resources
Requirement validation
Best practices for linking issues to pull requests
Issue Planning
Generate Coding Plans from issues for coding agents
Issue creation
Create issues directly from CodeRabbit reviews